
Robot belt polishing of small parts such as car door hinges usually fails for process reasons, not because the robot cannot reach the belt. The usual causes are the part varying from piece to piece, a belt that stops cutting the same way as it wears, force that nobody controls, dust that nobody plans for, and a part that shifts in the gripper. Each of these can be tested with sample parts before a cell is ordered. If you have a part like this, share a drawing and a batch of sample parts with us and we can plan those tests with you.
The application in the video
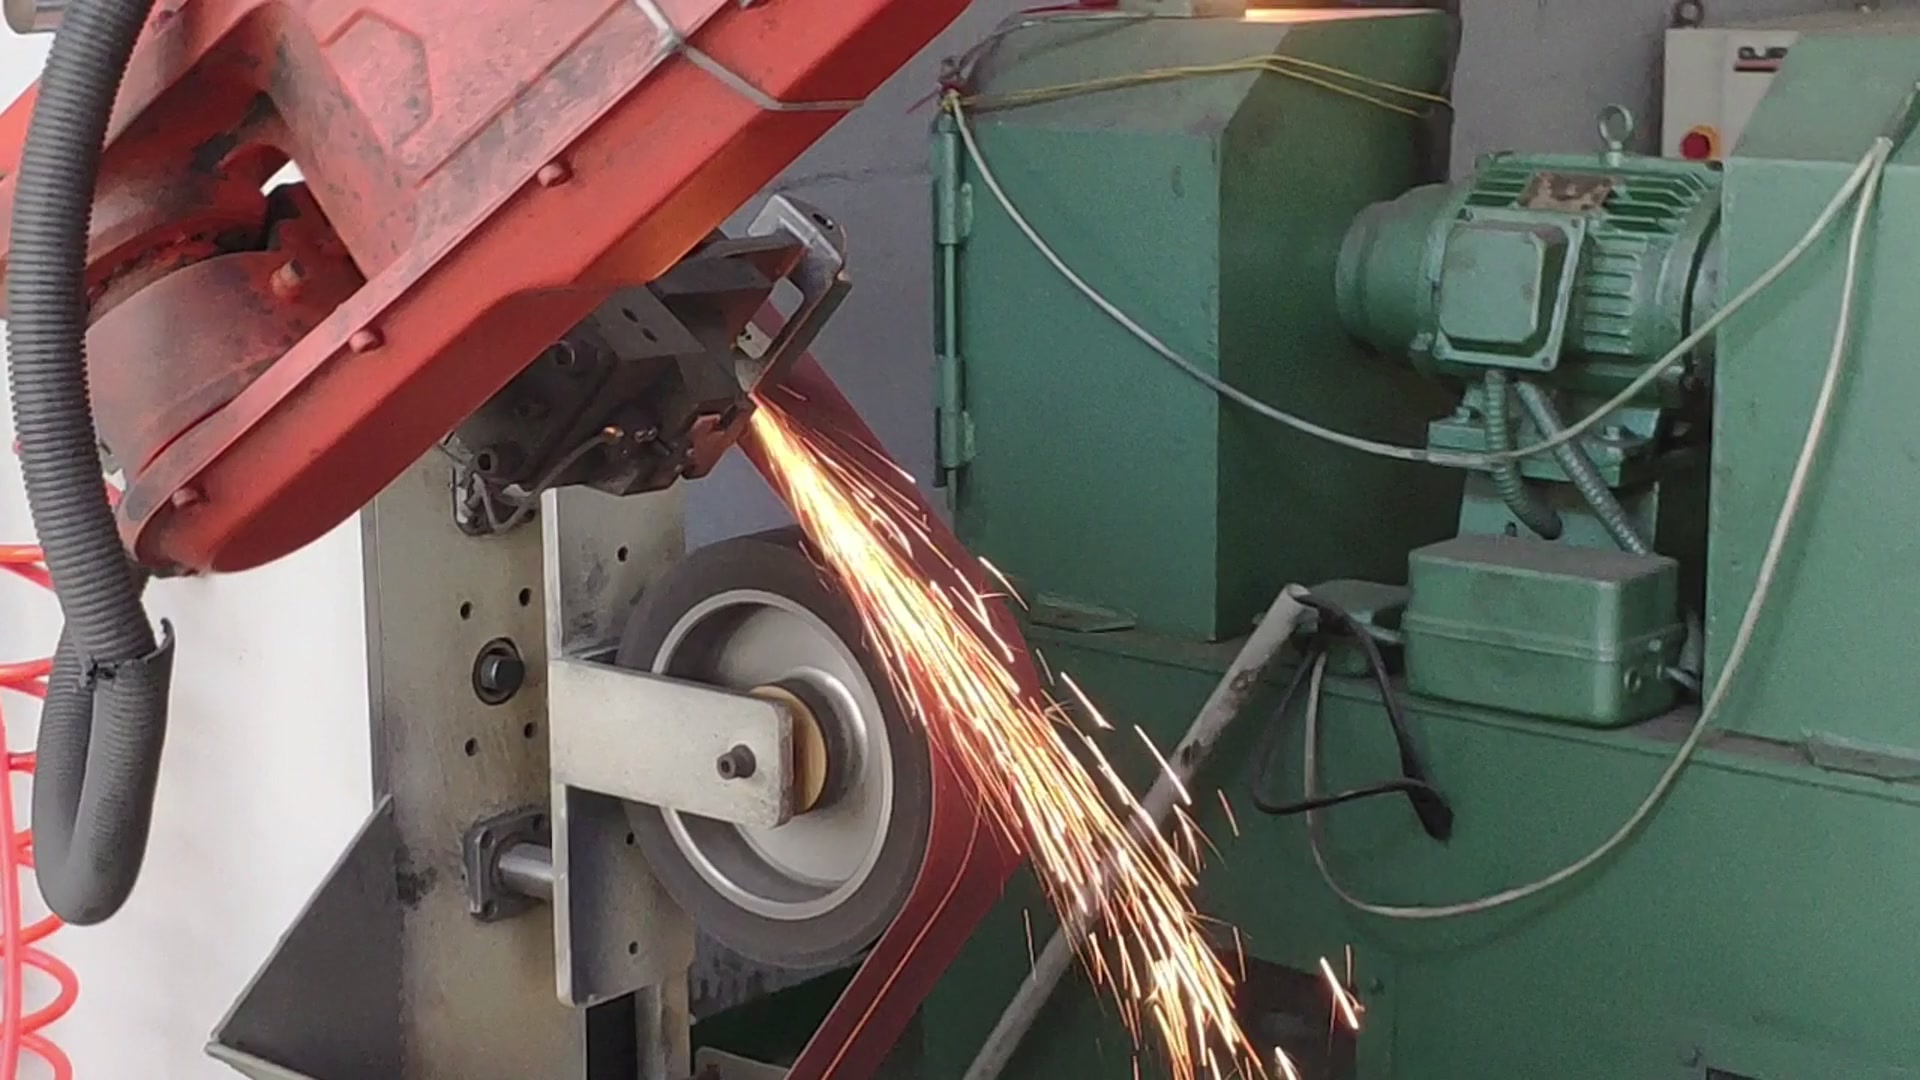
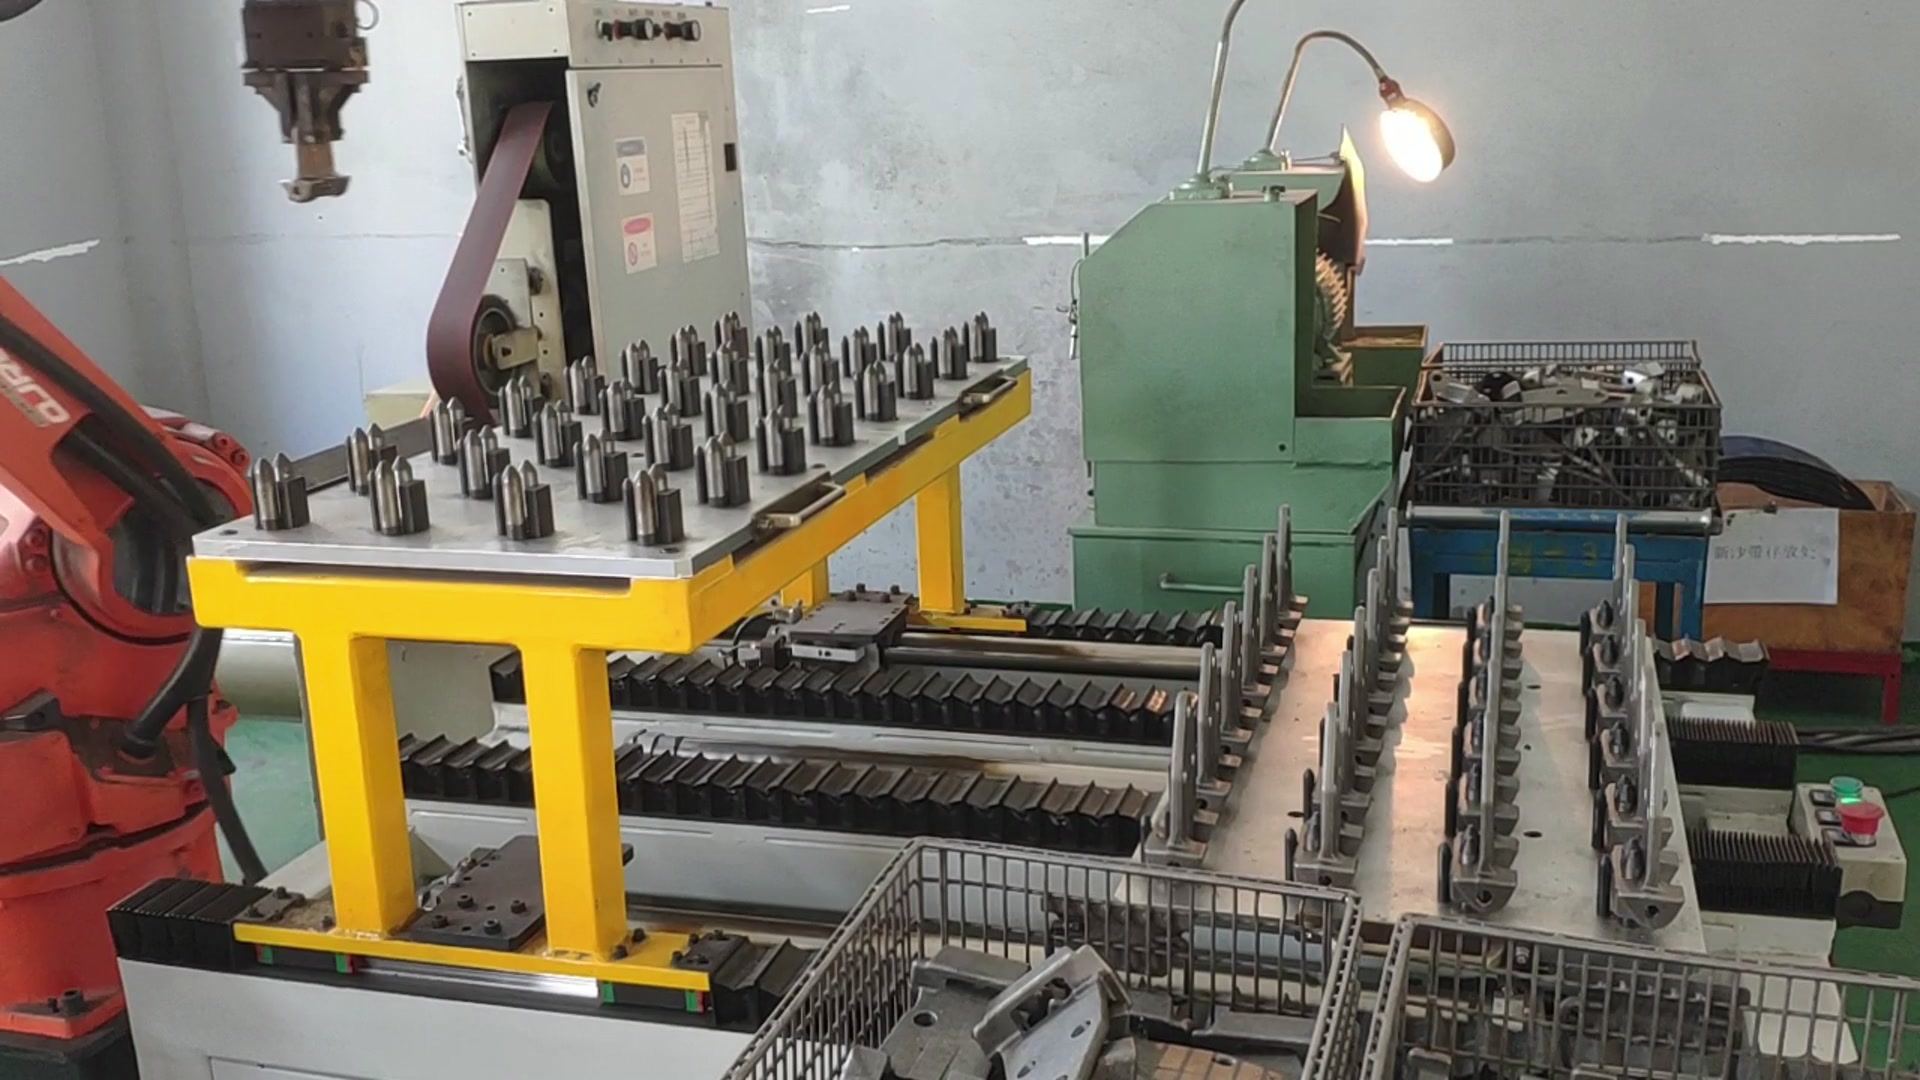
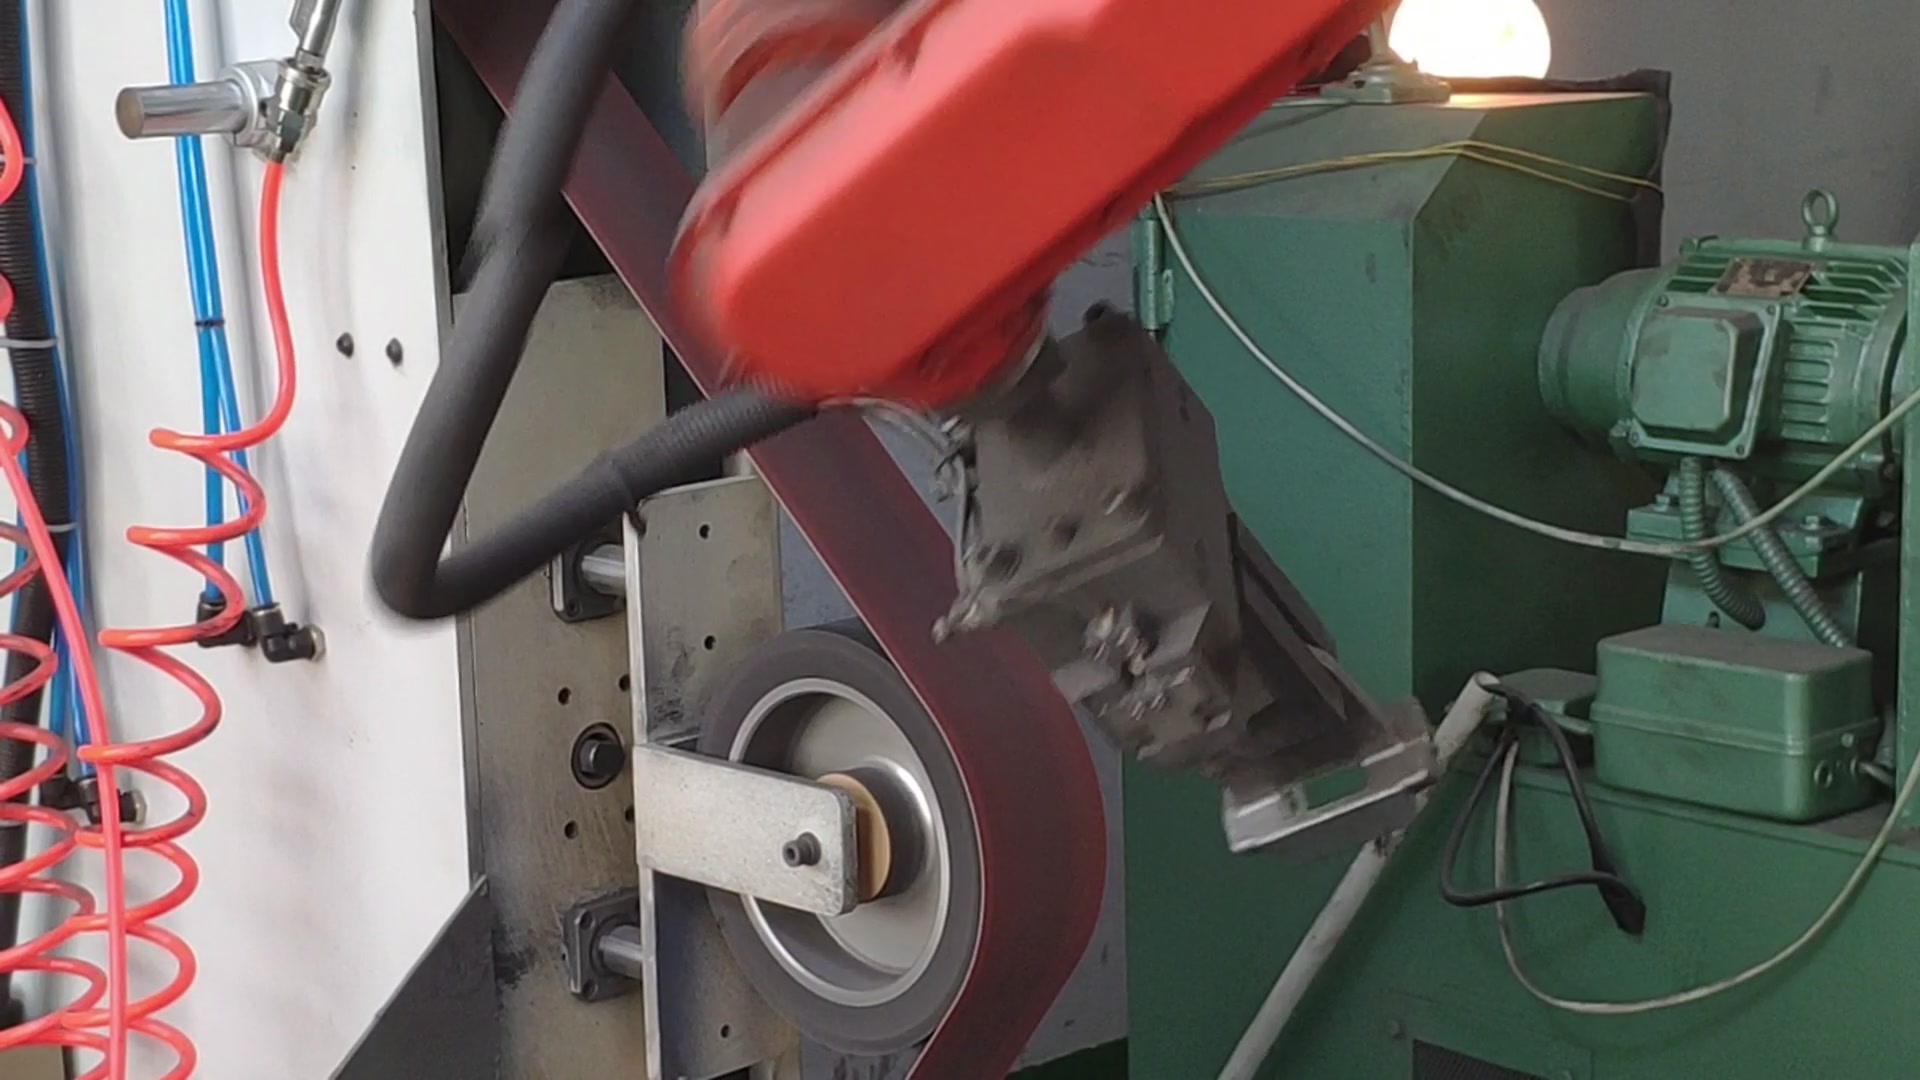
The footage shows a six-axis robot with a gripper taking car door hinges, one at a time, from a yellow rack with locating posts. The robot carries each hinge to a belt grinder and presses it against the contact wheel. Sparks show where the belt is cutting. The robot turns the part so the belt reaches different faces. Several belt machines stand around one robot.
This layout is the “robot holds the part” style of belt grinding. The tool stays fixed and the robot moves the workpiece. It suits small, awkwardly shaped parts that would be hard to fixture for a robot-held tool.
Failure mode 1: assuming every part matches the first one
A path taught on one good sample assumes the next part is the same shape and sits in the gripper the same way. Castings are the worst case. Studies of robotic belt grinding of cast fittings report wide geometric variation between blanks, which is why fixed paths need compensation or scanning, and as moulds wear, thickness, tilt and scale drift, so the datum the program was taught on can move over weeks of production. For forged or stamped hinges, measure the variation rather than assume it is small.
Test het: measure ten or more parts from different batches on the features the belt will touch. Polish the thickest and thinnest with the same program and compare the results.
Failure mode 2: running a force process on a position-only robot
Belt grinding removal depends mainly on contact force, but a standard robot follows a position. If the path is rigid, removal depth depends on how thick the part is and how worn the belt is. The usual fix is force control or a compliant actuator between robot and part. With that in place the robot holds a set pressure instead of a set position. In one published laboratory test, constant-force control held a 20 N grinding force within about 2 N on a belt running at 8 m/s. That is a single lab controller, but it shows what controlled force looks like.
Test het: ask the supplier to show force readings during a trial on your part, not only the finished sample.
Failure mode 3: treating the belt as a constant
Abrasive belts do not wear linearly. Material removal falls quickly early in belt life and then more slowly. Surface roughness can also change with wear at identical settings, so a fixed pass count drifts as the belt ages. Contact-wheel hardness adds another variable. Harder wheels cut faster and leave a coarser finish, while softer wheels conform to the part. One abrasives maker’s guide puts rubber contact wheels at about 20 to 90 durometer, with 50–60 common for general work.
Test het: run a trial across a full belt life, not just the first ten parts. Decide in advance whether the cell compensates for wear, changes belts on a schedule, or both.
Failure mode 4: leaving dust out of the design
Grinding dust settles on grippers and fixtures and degrades clamping accuracy. It also has to be kept out of robot sensors. Belt grinders need hooded local exhaust with some way to verify it works. US regulations, for example, set minimum exhaust volumes by belt width, and other countries have their own rules. Metal dust can also be a fire or explosion hazard. Aluminium, magnesium and titanium are the classic combustible metals, fine zinc dust can burn even though bulk zinc does not, and the risk for any other alloy should be settled by a dust hazard assessment.
Test het: include dust extraction, gripper cleaning and sensor sealing in the quotation, not as an afterthought.
Failure mode 5: losing the part in the gripper
The belt pushes back on the part, which pulls the part against the gripper. Hinges have holes, flanges and thin sections, and a gripper that clamps the wrong feature lets the part rotate under load. Dust on the jaws makes slipping worse.
Test het: mark the part and the jaws, polish a batch, and check whether the marks have moved.
What to bring to a trial
- Drawings with the surfaces to be polished and the required finish
- Twenty sample parts drawn from different batches
- Current manual cycle time per part and the reject reasons you see today
- Belt type and grit sequence you use by hand, if any
- Local dust-extraction and safety requirements
Contact our application team with these and we will plan a trial that tests the five failure modes above on your own parts.