
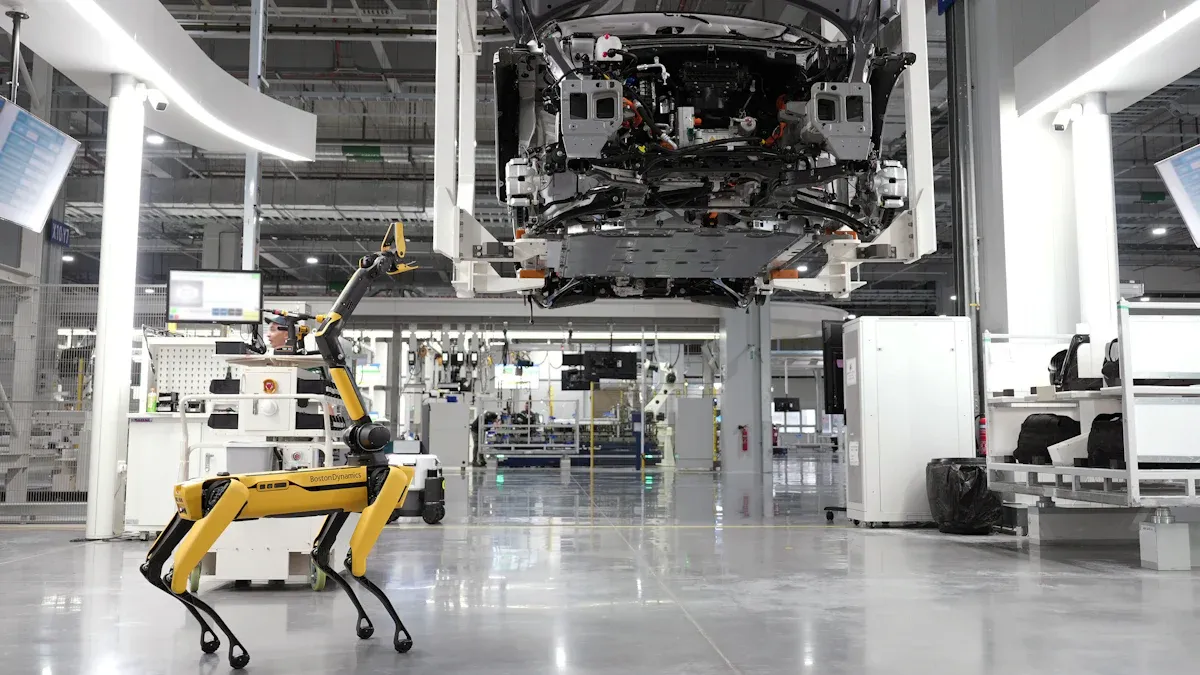
You can learn how to build a robotic arm in 2025 by following easy steps. Many beginners create robotic arms for school, coding, and fun projects. To get started, you can use kits like LEGO Mindstorms, Raspberry Pi robots, or EZ-Robot to learn and experiment. Popular brands for parts include FANUC, KUKA, and Standard Bots.
Plan and Prepare
Define Purpose
Before you start, decide why you want to build a robotic arm. Many people use robotic arms for learning, picking up objects, or controlling them with a phone. You should think about the size, how many joints you want, and what tasks the arm will do.
The base gives the arm stability and helps it move smoothly.
Joints decide how the arm bends and turns.
More joints mean the arm can move in more ways.
The end of the arm, called the end effector, grabs or moves things.
The wrist lets the arm twist and turn for better control.
Tip: If you want to learn how to build a robotic arm for Bluetooth control or object picking, plan for enough joints and a gripper.
Select Materials
You can use different materials for your robotic arm. Each material has its own strengths and weaknesses.
Material | Pros | Cons |
|---|---|---|
Acrylic | Light, easy to cut, looks neat | Can break under stress |
Wood | Cheap, easy to shape | Not as strong as metal |
3D Printed | Custom shapes, light | Needs a 3D printer |
Cardboard | Very cheap, easy to find | Not durable, weak |
Choose a material that fits your project and budget. Lighter materials help the arm move faster, but strong materials last longer.
Gather Components
You need several parts to build your robotic arm. Most projects use servo motors for movement and a microcontroller like Arduino for control.
Motors or actuators (servo motors work well)
Microcontroller (Arduino is popular)
Potentiometers, resistors, push buttons
Wires and a power supply
You can find quality parts from brands like EVst, Elephant Robotics, or Standard Bots. EVst offers kits and single parts for beginners and hobbyists. If you want to know how to build a robotic arm that works well, always use reliable components.
How to Build a Robotic Arm
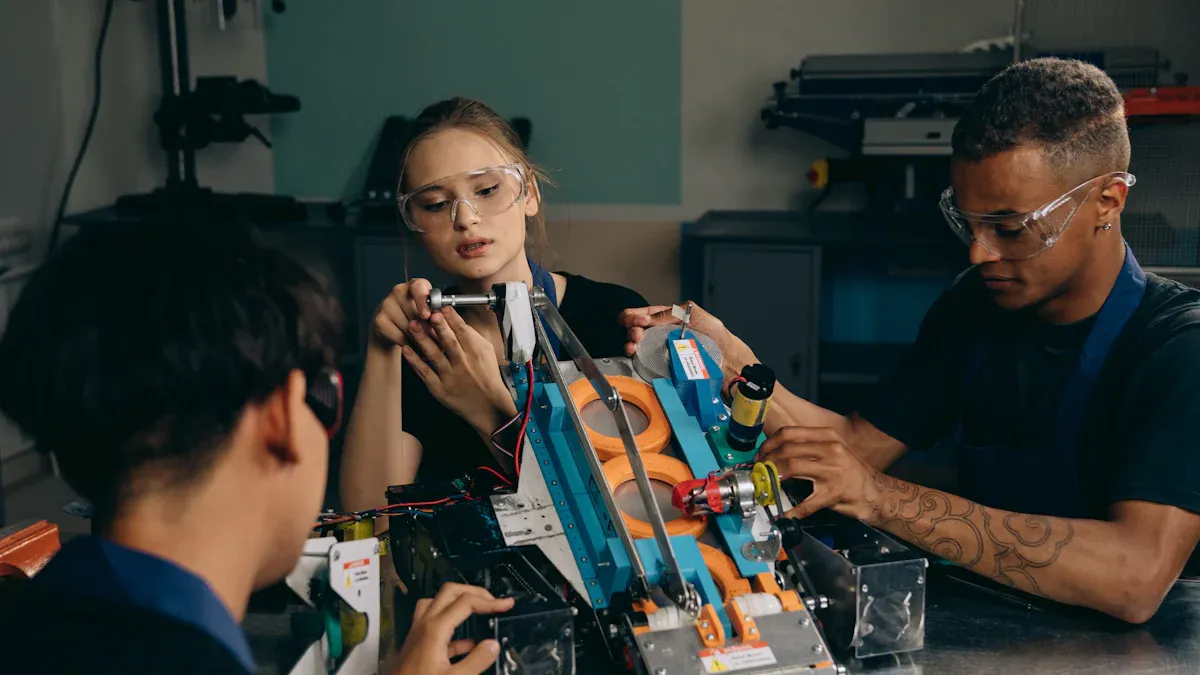
Design and Assembly
First, you need to plan how your robotic arm will look. Draw your idea on paper or use free tools like Tinkercad. Decide how many joints you want. Think about where each part will connect. Many people use 3D printing to make special parts for their arm. You can also cut acrylic or wood with simple tools.
To put the arm together, follow these steps:
Cut each piece to the right size. Use a ruler and marker to help.
Attach joints with screws, bolts, and brackets.
Put nylon spacers, washers, and nuts at every joint. This helps the arm move smoothly and stops rubbing.
Hold servos in place with mounting brackets and screws. Make sure nuts fit in the platform holes for strength.
Connect the main arm, pivot linkages, tilt arms, and gripper with the same hardware.
Place big flanges between parts that do not move and parts that spin. This gives space and lets the arm turn easily.
Tighten nuts by hand if you cannot use a tool. This keeps the arm from shaking.
Use locking nuts on the gripper screws. These let the gripper move but do not come loose.
Build a strong base or clamp the arm to your table. This keeps the arm from falling over.
Many beginners make simple arms with grippers to pick up small things. Some people add AI vision systems to find objects in real time. Pick a style that matches what you want to do and what you know.
Install Motors and Wiring
You need to put motors at each joint. Most people use servo motors because they are easy to use. Attach each motor with brackets and screws. Run servo wires through holes in the arm. This keeps wires safe and stops tangling.
Follow these steps for wiring:
Check the battery’s positive and negative ends. Connect the red wire to positive and the black wire to negative.
Run the red power wire through the main breaker to the Power Distribution Panel (PDP).
Connect each motor controller’s power input to the high current output on the PDP.
Use wire strippers to get wires ready. Put them into the terminals.
Connect motor controller outputs to motors with Wago 221 terminals. Match red wires to red and black to black.
For long wires, use 12 AWG extension wires. Run them safely along the arm.
Always check connections by looking and gently pulling wires. Make sure they are tight and secure.
Put the robotic arm on blocks while wiring and testing. This stops it from moving suddenly.
Motor controllers go between the microcontroller and the motors. They give the right amount of power. Connect the controller’s power inputs to the microcontroller’s 5V and ground pins. Control signals use PWM or UART. For brushless motors, you must set up the ESC. The Arduino Servo library helps you send PWM signals to control speed.
Program and Test
You use a microcontroller like Arduino to control your robotic arm. Write code to move each joint. Many people use Python for easy projects because it is simple and has many libraries. C++ is good for fast control and hardware. Java works on many computers, and MATLAB is good for testing and modeling.
Programming Language | Strengths and Typical Use Cases | Limitations |
|---|---|---|
Python | Simple words, many libraries, quick to try ideas | Not good for fast jobs |
C++ | Fast, real-time control, works with hardware | Hard for new users |
Java | Easy to use, works on many computers | Not best for fast control |
MATLAB | Good for testing and modeling | Not used for final control |
You need to plan how the joints will move. The Denavit-Hartenberg convention helps you do this. You give each joint a coordinate frame using four rules. These rules use four numbers: θ (theta), α (alpha), r, and d. You put these in a table and make transformation matrices. When you multiply these matrices, you find the end-effector’s position and direction. This lets you know where the arm will go based on joint angles and link lengths.
Testing and calibration are important steps when building a robotic arm. Follow these steps:
Plan the robot’s kinematic numbers.
Measure pose errors with feedback or other devices.
Find geometric errors with math methods.
Fix the kinematic model to make it more accurate.
Use 3D measuring tools like laser trackers or CMMs for open-loop calibration.
Touch spheres with known distances and compare measured poses with what you expect.
Move the arm to the same spot in different ways to find and fix joint offsets.
Focus on geometric errors because they cause most mistakes.
Use fast re-calibration with feedback if you do not have outside devices.
Check calibration by seeing if accuracy gets better.
Cost Considerations
You might wonder how much it costs to build a robotic arm. Simple collaborative arms cost $25,000 to $75,000 for just the arm. Installed costs are $40,000 to $150,000. These arms are safe, easy to set up, and good for beginners. Advanced industrial arms cost $50,000 to $200,000 for the arm. Installed costs can be up to $500,000. These arms can lift more and are more accurate but need safety cages and expert setup.
Robotic Arm Type | Price Range (Base Unit) | Installed Cost Range | Key Features and Use Cases |
|---|---|---|---|
Simple (Collaborative) | $25,000 – $75,000 | $40,000 – $150,000 | Safe, light, easy to set up, no fencing, can lift about 18-20 kg, no-code programming, flexible use |
Advanced (Industrial) | $50,000 – $200,000 | $150,000 – $500,000 | Lifts more, very accurate, needs safety cages, used for welding, CNC, stacking, heavy work |
Building from parts can cost $20,000 to $30,000 before software and safety. Maintenance costs about 5–12% of the price each year. Electricity costs $500–$1,000 per year.
Tip: Start with a simple arm if you are new to robotics. Upgrade as you learn more about building a robotic arm.
Troubleshooting and Safety
Common Issues
When you build a robotic arm, you may face some common problems. Knowing these issues helps you fix them quickly and keep your project running smoothly.
Mechanical instability can make your arm shake or lose precision. You can solve this by using stronger bearings and shafts.
Joint stiffness and gear wear often slow down movement. Lubricate the joints or replace worn parts to restore smooth motion.
Power interruptions can stop your arm suddenly and may damage parts. Regenerative braking circuits help the arm slow down safely during power loss.
Dust and moisture can harm electronic parts. Cover all electronics to protect them from the environment.
Too many cables make setup and repairs hard. Try to use a single cable between the robot and the controller.
Unstable voltage or faulty wiring can cause the arm to stop working. Always check your power supply and wiring connections.
Safety Tips
You must follow safety rules to protect yourself and others when working with robotic arms.
Inspect your wiring and parts often. Look for damage or loose connections.
Set up safety barriers like fences or light curtains to keep people away from moving parts.
Place emergency stop buttons in easy-to-reach spots. Make sure everyone knows how to use them.
Use sensors to detect people or objects near the arm. This helps the robot stop before an accident happens.
Keep your work area bright and clear. Good lighting helps you see danger zones.
Learn about safety standards such as ISO 10218 and ANSI/RIA R15.06. These standards guide safe design and operation.
Train everyone who works with the robot. Practice safety drills and update training often.